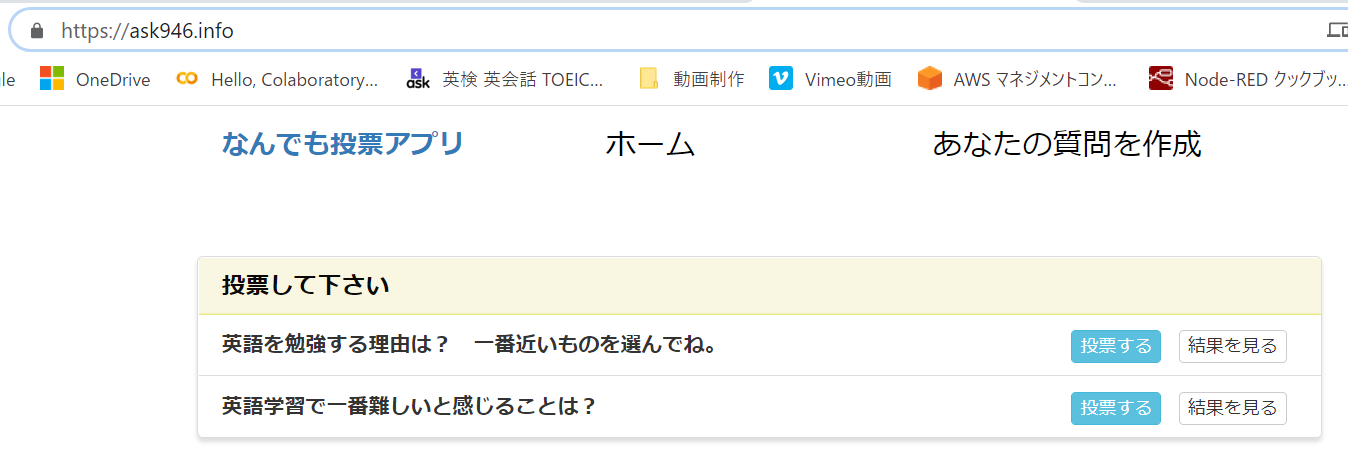
I posted this content once before, but it was a chronological list of items only, so this time I will summarize it a bit more thoroughly while deploying the “voting application” I created yesterday.
(Later, I moved the above application to digitalOcean.)
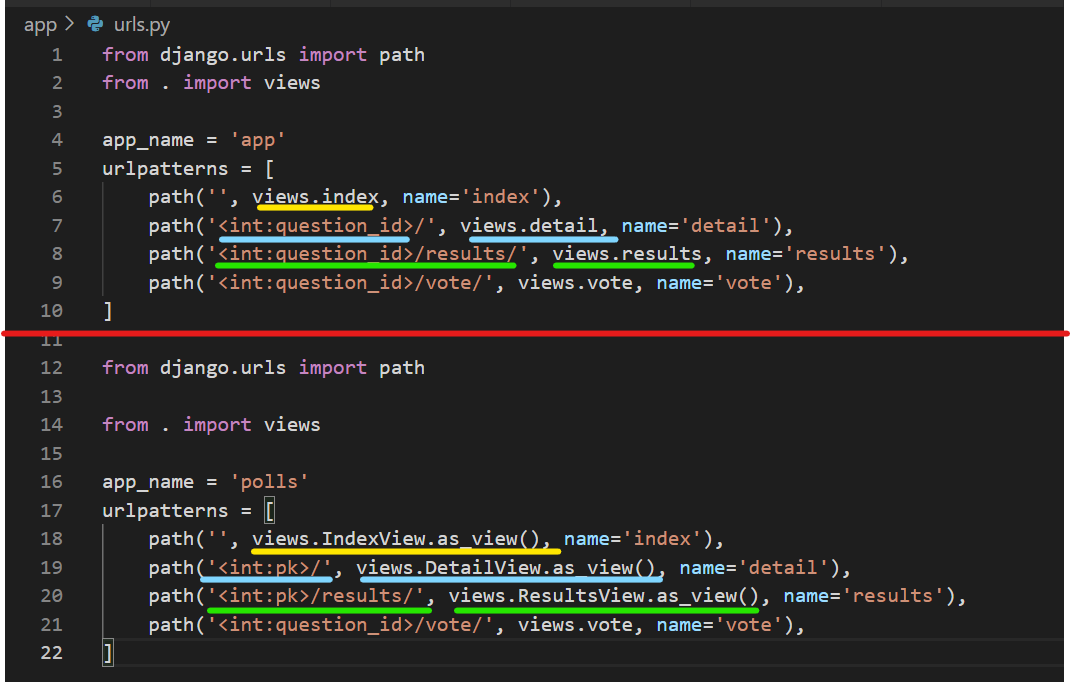
- Separate development and production environments
- local_settings.py
- Create an instance in vultr
- Install nginx, pip, venv
- Create src folder and Remote SSH
- git clone
- Virtual environment, upgrade, requirements.txt, nginx folder
- Used to set the “.env” environment variable and execute commands
- django.core.exceptions.ImproperlyConfigured: Set the SECRET_KEY environment variable
- The css is not reflecting!
- nginx restart
- Register server startup, shutdown, and restart with System Control.
Separate development and production environments
- Create a “.gitignore” file.
- Delete SECRET_KEY from “setting.py” and put it in “local_settings.py
- Set DEBUG to False for the production environment in “setting.py
- Add local settings to “setting.py

local_settings.py
In the development environment, set DEBUG = True. Paste the SECRET_KEY you just cut from settings.py

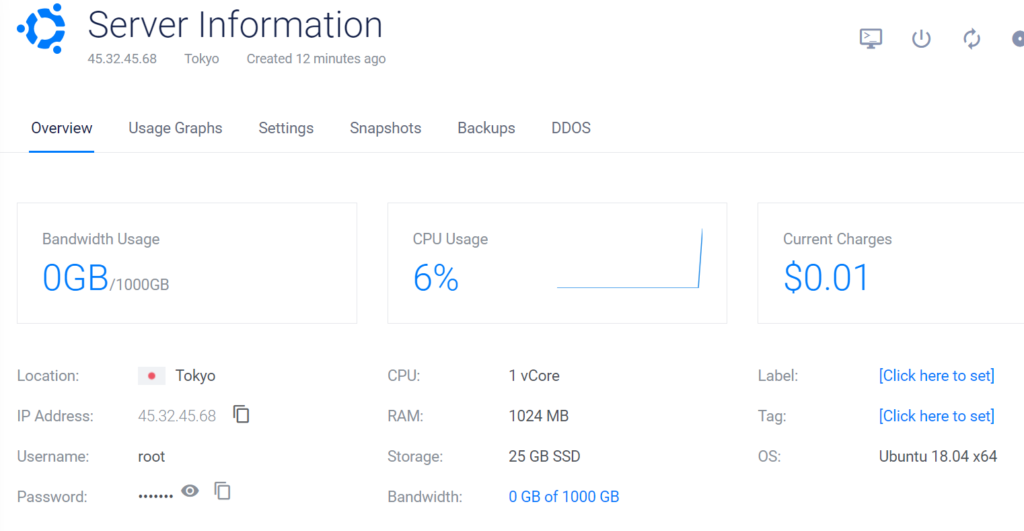
Create an instance in vultr
- Create an account
- Ubuntu 18.04 -> deploy now
- SSH key and firewall are assigned from the pre-created ones.
How to make SSH connection on VPS(Vultr), from VPS startup to firewall setting.
Configuring the Vultr Firewall
Create a user via SSH, grant administrative privileges, and once logged in as a user, update/upgrade to keep the environment up-to-date.
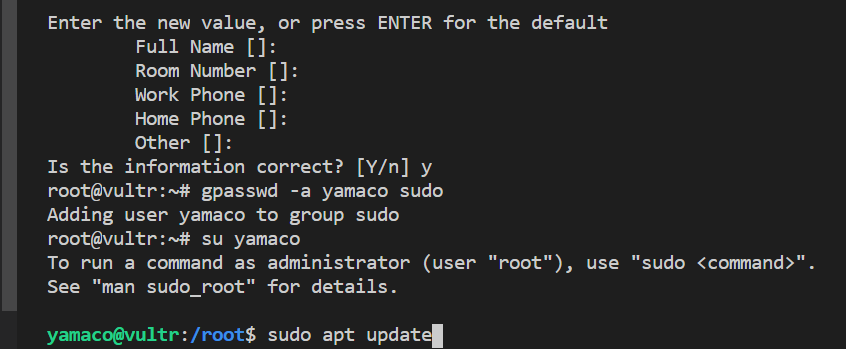

Install nginx, pip, venv

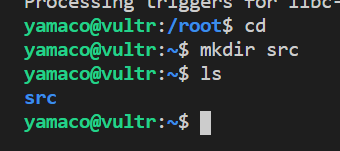
Create src folder and Remote SSH
After creating the “src” folder, connect to Remote SSH (Remote SSH: Connect to Host and use “ssh yamaco@xxx.xxx.xxx” to open the “src” folder you just created)
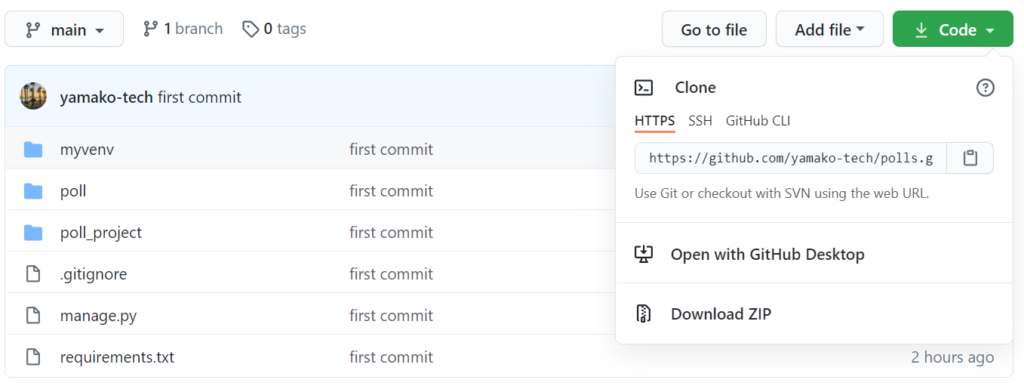
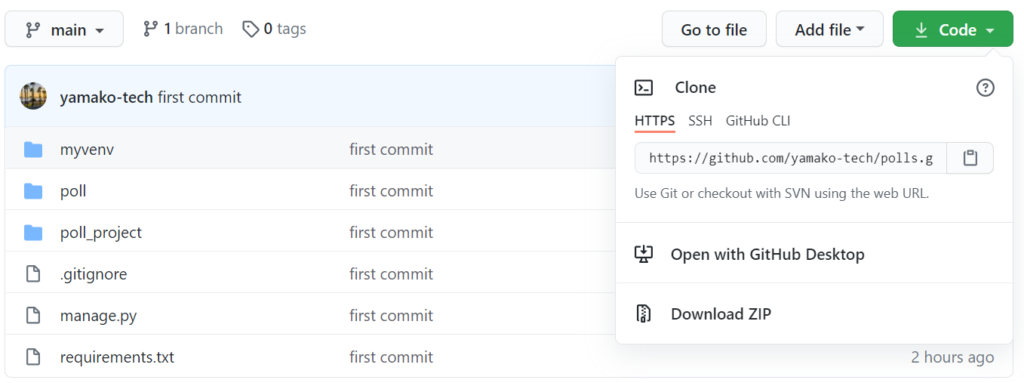
git clone
Copy the code from github and clone it to vultr

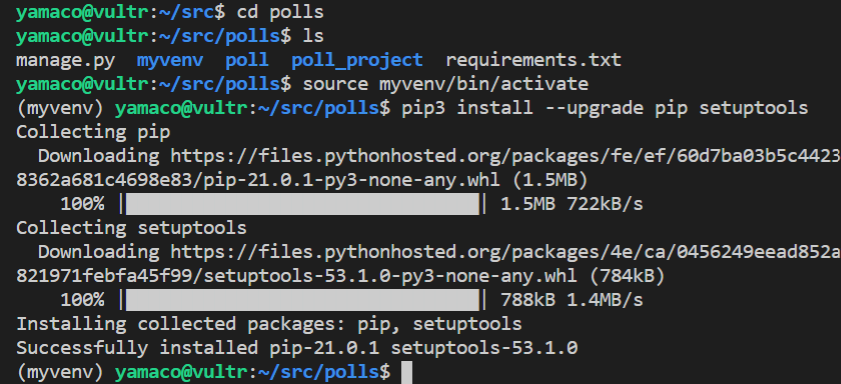
Virtual environment, upgrade, requirements.txt, nginx folder
After building the virtual environment (python3 -m venv myvenv), enter myvenv and update to the latest commands (pip3 install -upgrade pip setuptools). Install “requirements.txt”. Create a folder for “nginx


Used to set the “.env” environment variable and execute commands
Both “SECRET_KEY” and “ALLOWED_HOSTS” do not need spaces before and after “=”. Also, ” ‘ ‘” should be deleted.

django.core.exceptions.ImproperlyConfigured: Set the SECRET_KEY environment variable
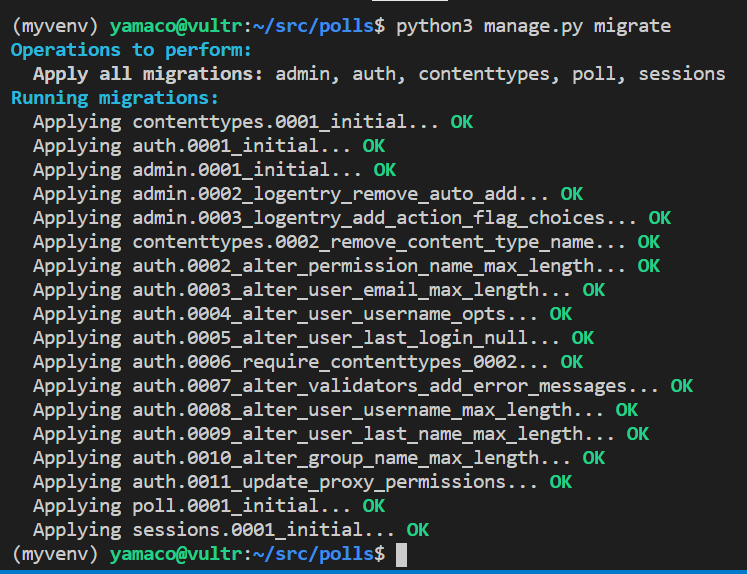
I got an error with “python3 manage.py migrate”!
I looked closely and found that the “.env” file was directly under “src” and was the same as “polls”. I stored it in “polls” and successfully migrated!

The css is not reflecting!
When I started the server with “python3 manage.py runserver”, the navbar looked strange. The css is not reflected!
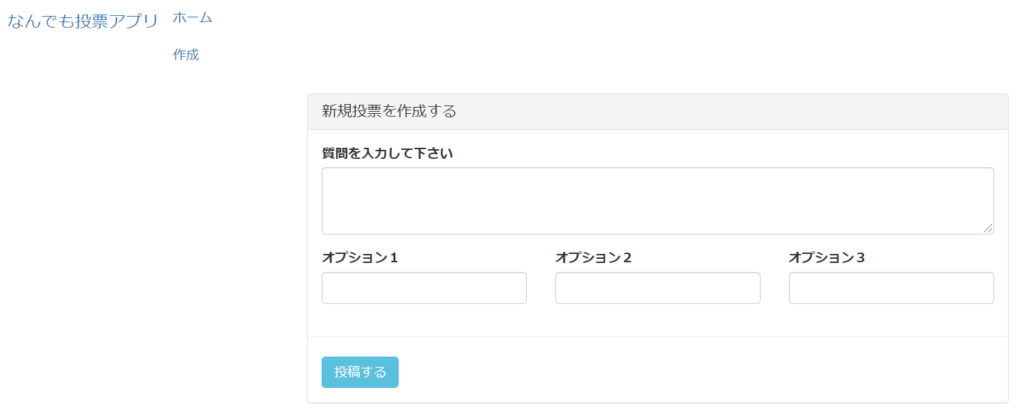
- 「sudo python3 manage.py collectstatic」=>131 static files copied to ‘/usr/share/nginx/html/static’.
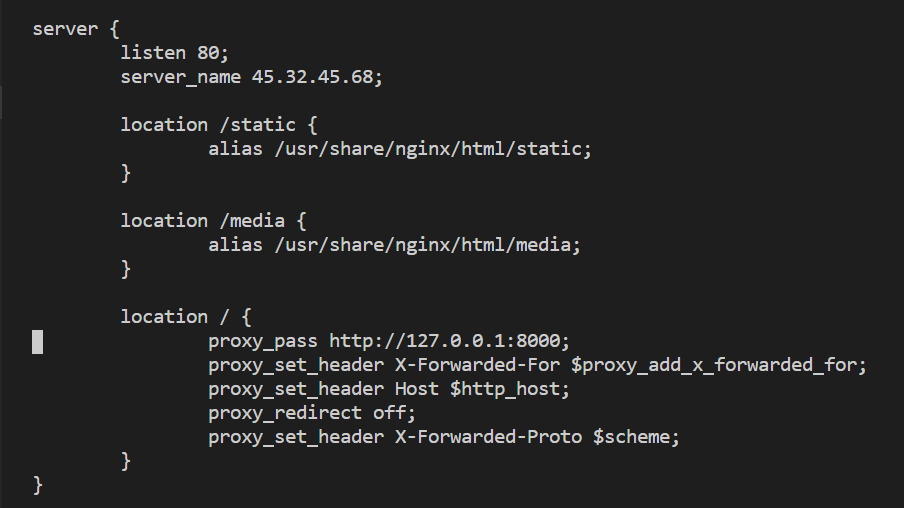
- 「sudo nano /etc/nginx/sites-available/default」(Fixed nginx)
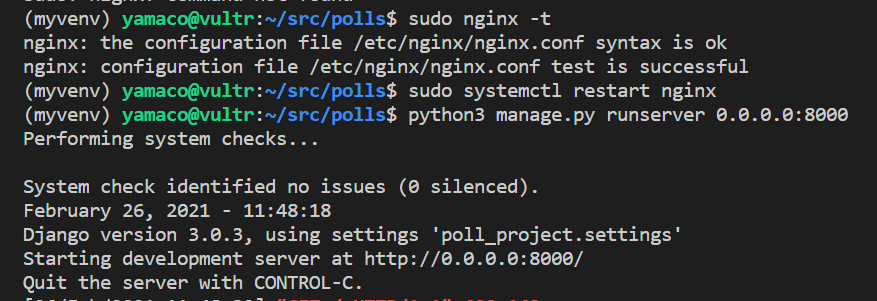
nginx restart
When I restarted nginx, I was able to successfully view the vultr IP address.
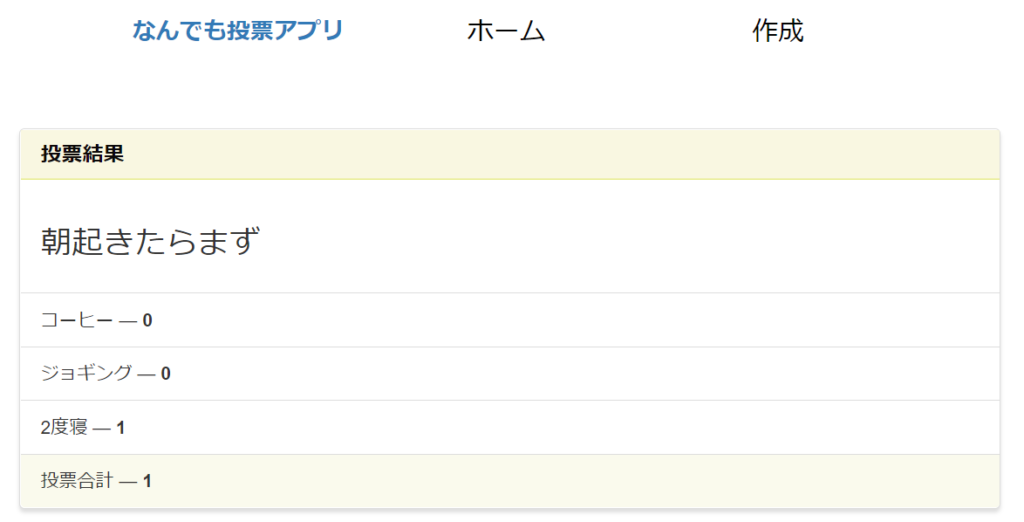
Register server startup, shutdown, and restart with System Control.
sudo nano /etc/systemd/system/poll_project.service
[Service]
WorkingDirectory=/home/yamco/src/poll_project
EcexStart=/home/yamaco/src/poll_project/myvenv/bin/bunicorn –bind 127.0.0.1:8000 poll_project.wsgi:application
- start the server:sudo systemctl start poll_project
- Status check:sudo systemctl statud poll_project
- stop the server:sudo systemctl stop poll_project
- restart the server:sudo systemctl restart poll_project
Get your Domein
I bought it before and had a domain I wasn’t using, so I set vultr on the name server.
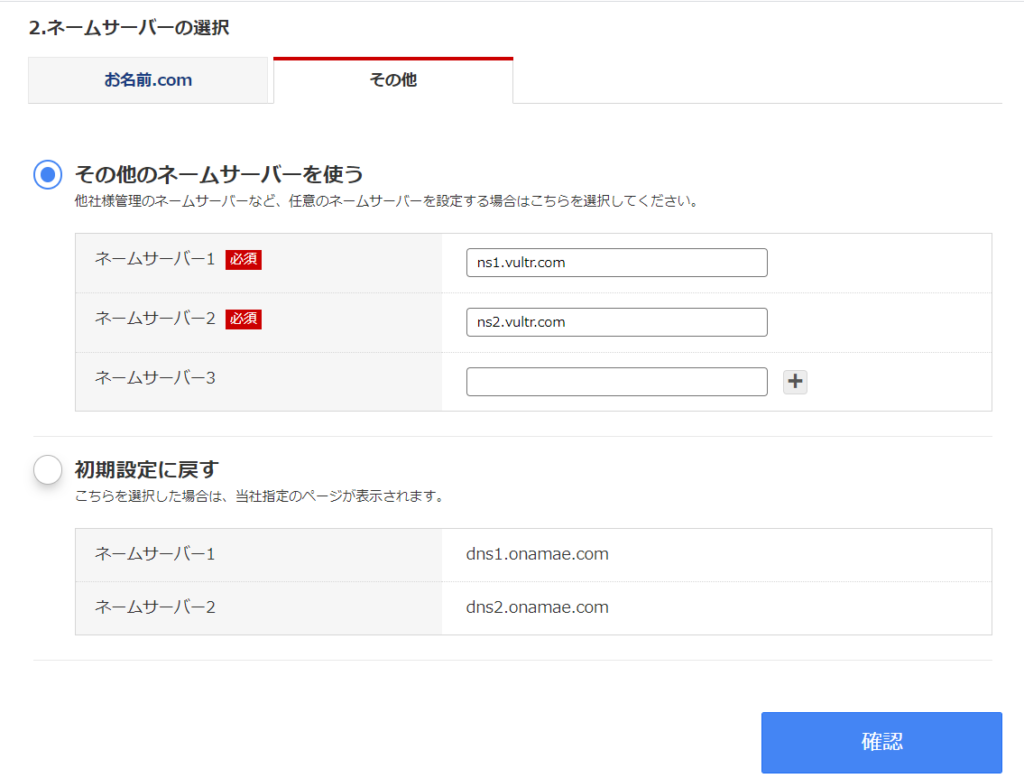
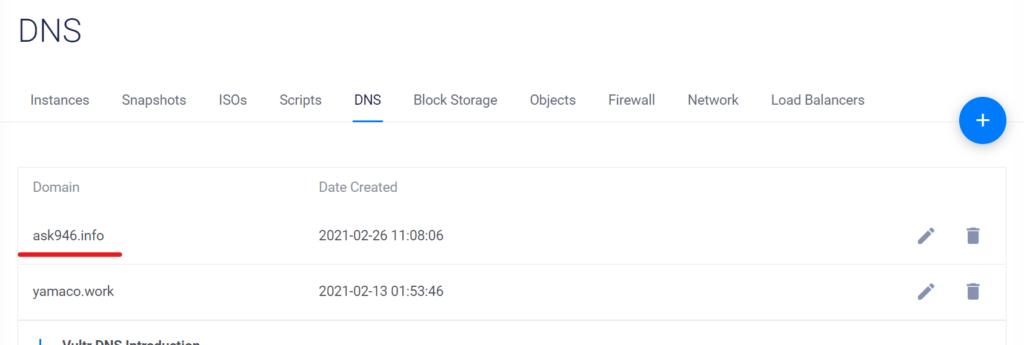
- Set DNS and domain on the vultr side as well
- Add the acquired domain to “ALLOWED_HOSTS” in the “.env” file
I was able to view it in the domain, but “no security protection”

Make your site HTTPS
- sudo apt-get install letsencrypt
- sudo letsencrypt certonly –standalone -d ask946.info
- After rewriting nginx for Https (sudo nano / etc / nginx / sites-available / default), change the server to domain name
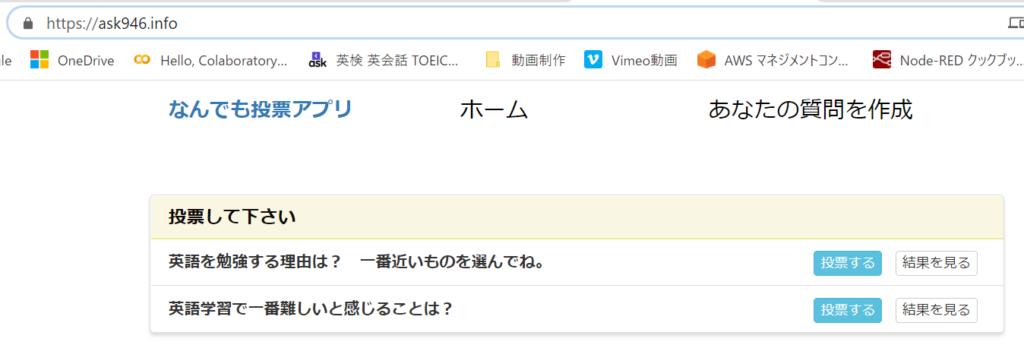
Later, I moved this app to Digital Ocean. Click here for the finished product
